by Łukasz Jakóbiec
Dual wire gantry 3d printer
As I have come across excelent build by RichRap I have decided to build 3d printer described in his post at youmagine. Main goal was to build printer that will: be fastbe acuratebe huge :) As I have alredy build my first extruder now was th
As I have come across excelent build by RichRap I have decided to build 3d printer described in his post at youmagine.
Main goal was to build printer that will:
be fastbe acuratebe huge :)
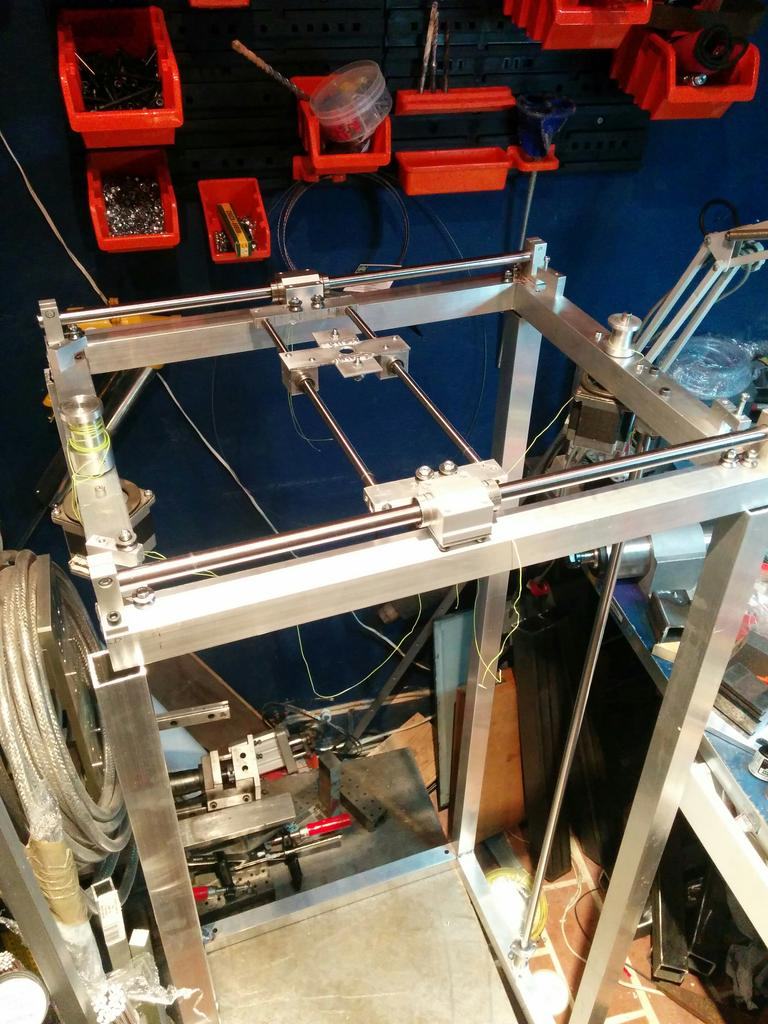
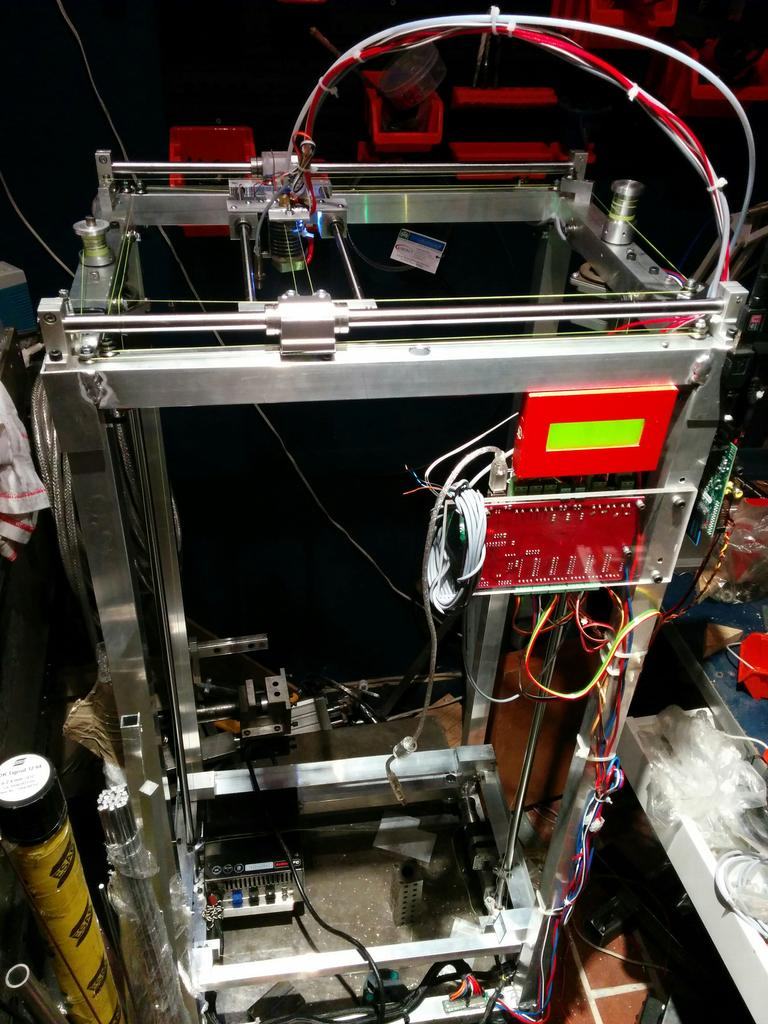
As I have alredy build my first extruder now was the time to build printer frame. I have decided to go with 30x30mm aluminium extrusions and welded them together (as this is another new practice exercise for me).

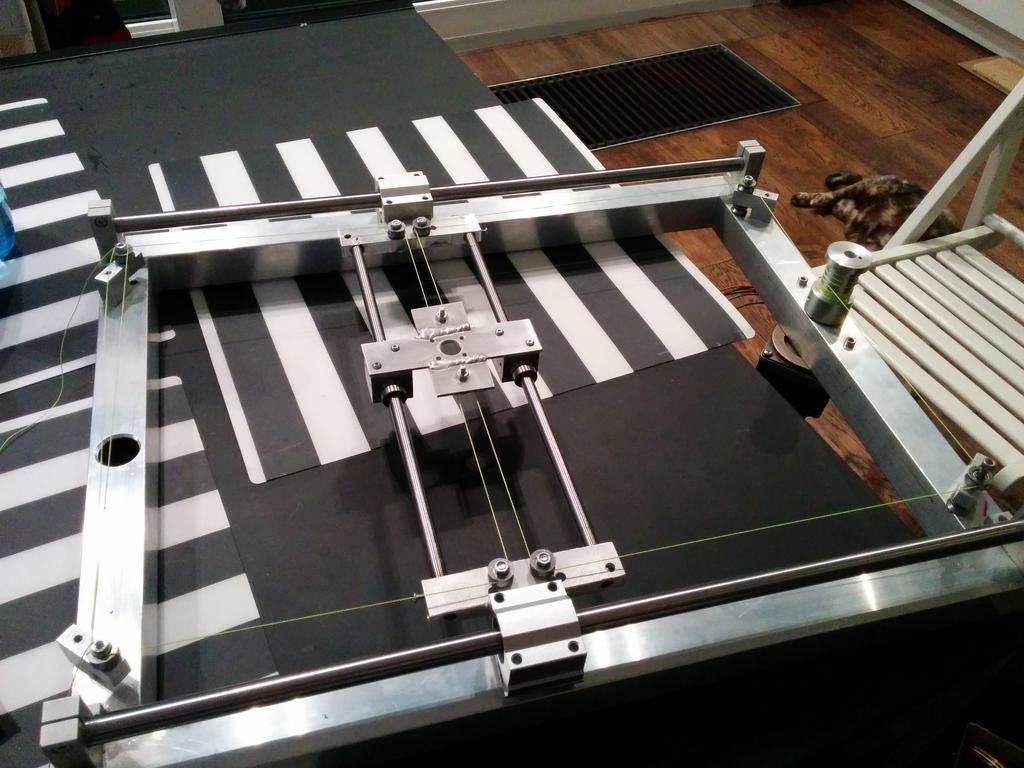
After checking all the angles frame and gantry was TIG welded together and 12mm rails was bolted to the frame. Other axis uses 8mm rods.
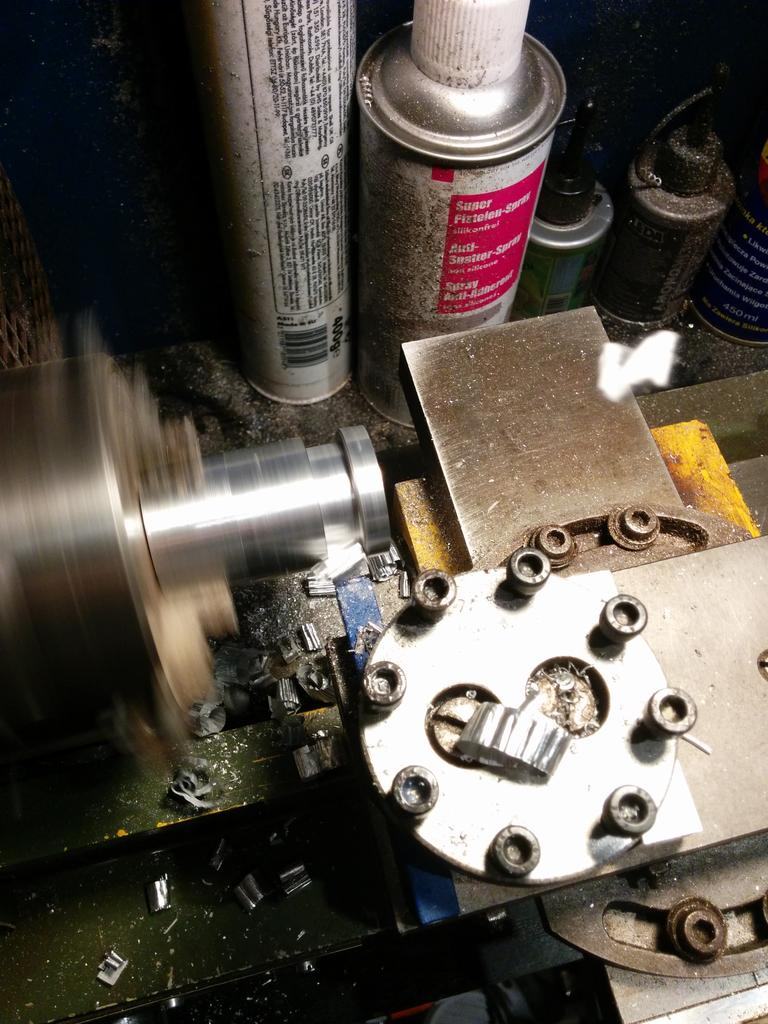
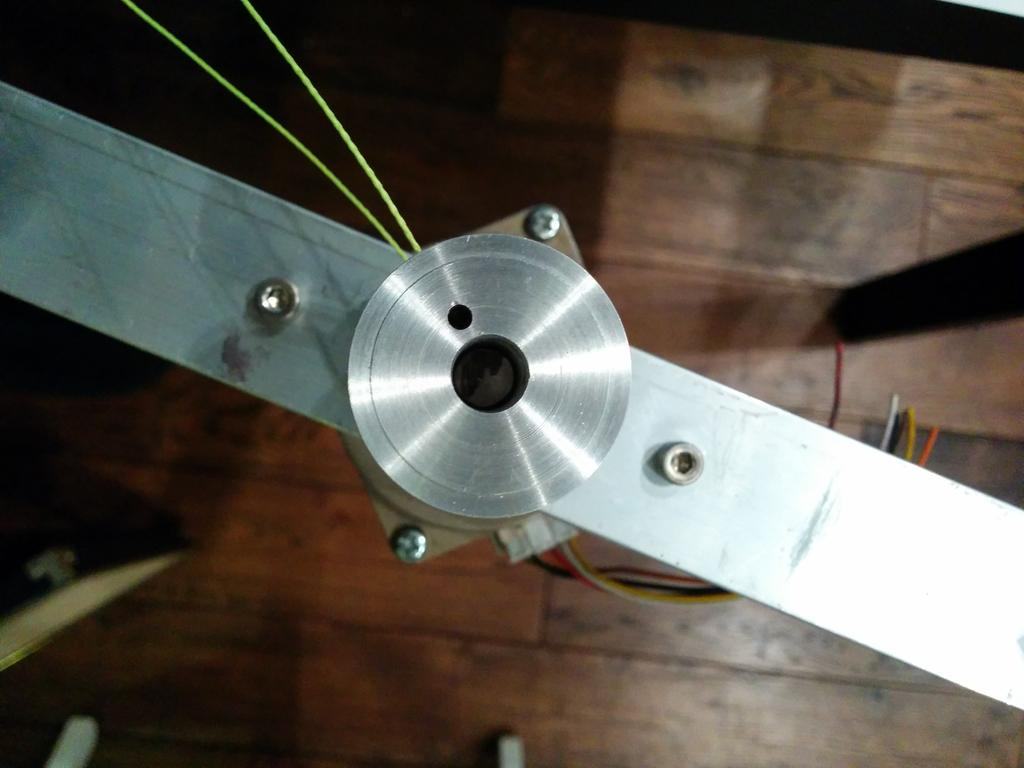
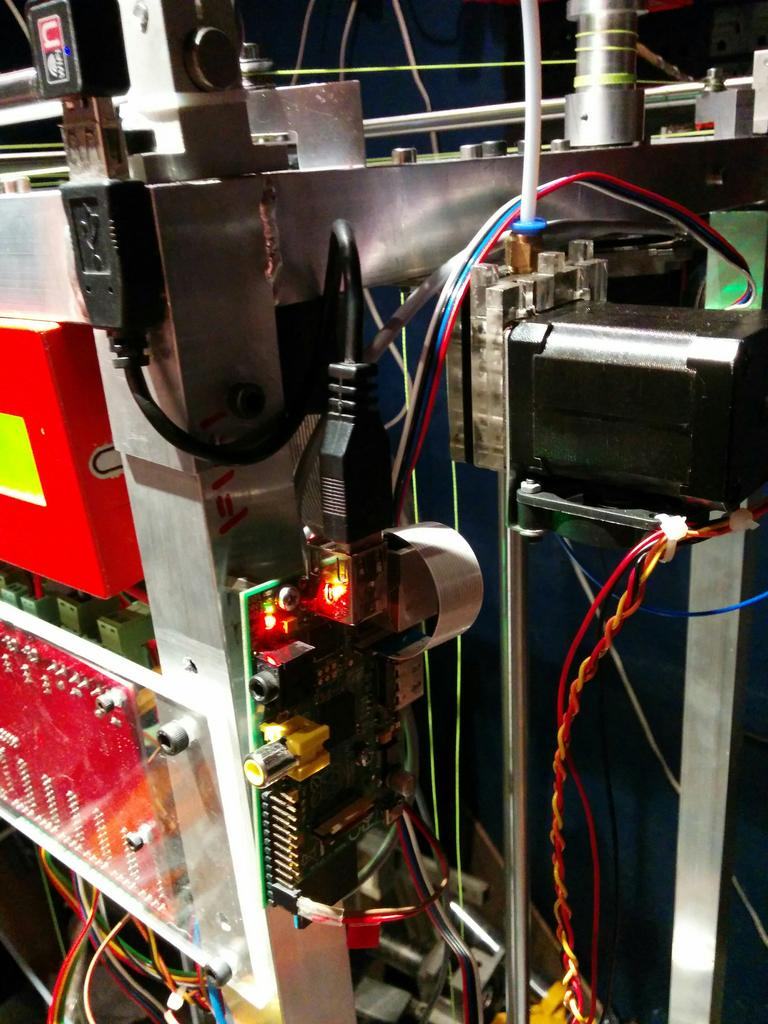
With my small lathe I did the wire spools that will be driven by the steppers.
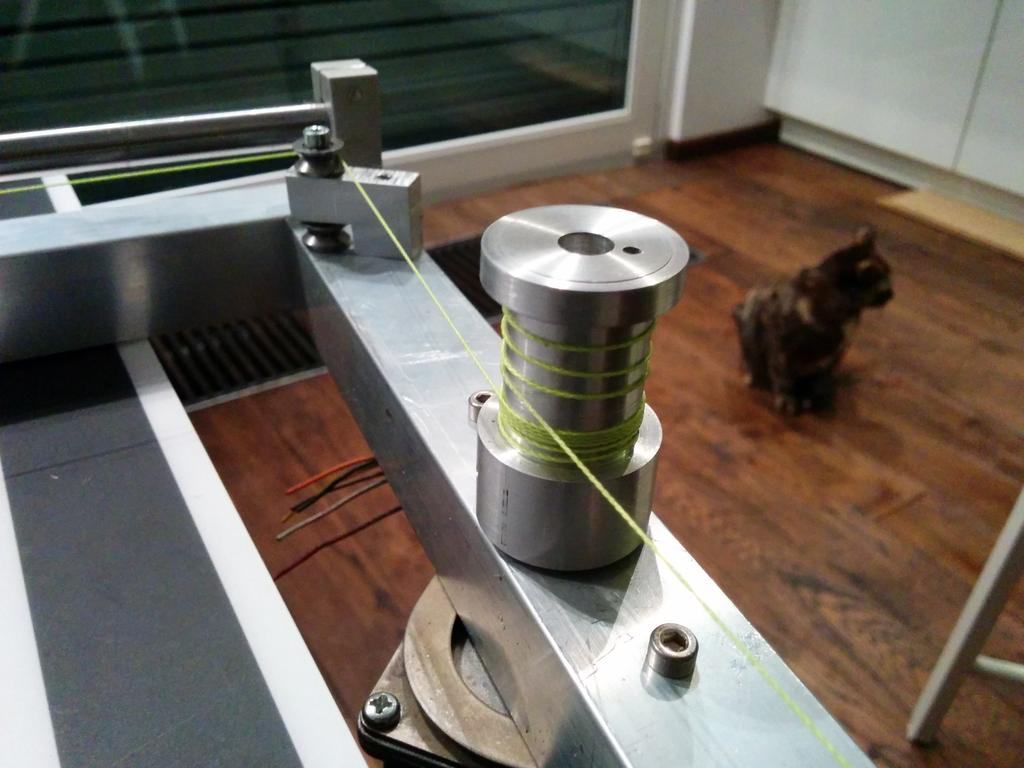
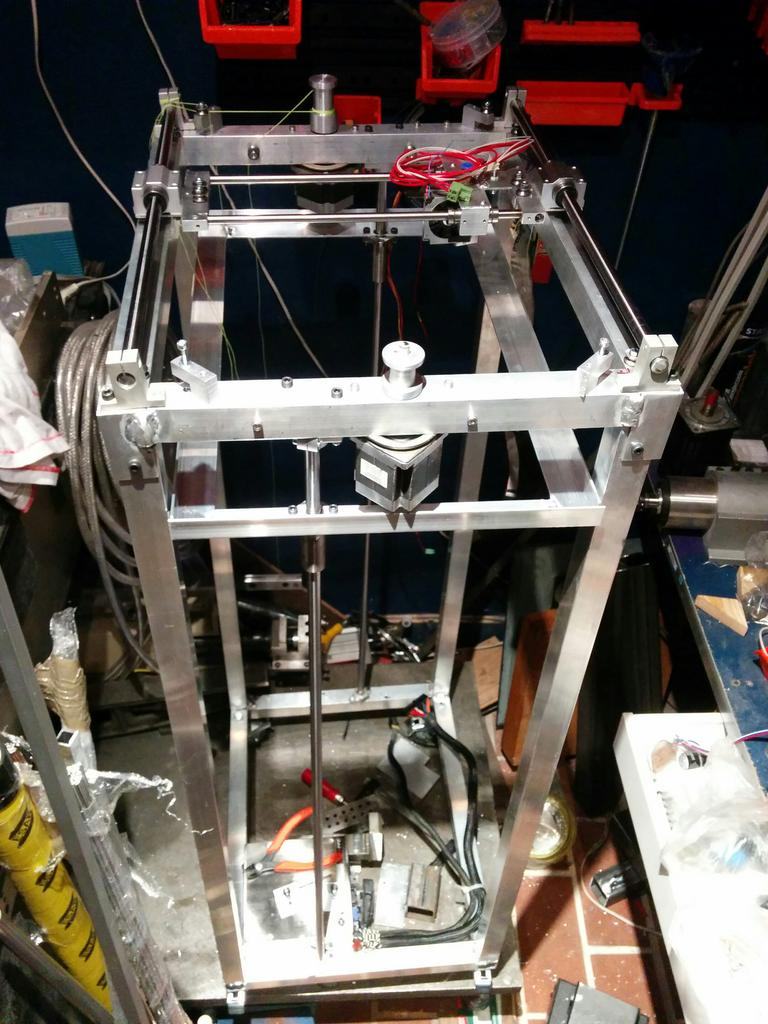
After that first "wiring" was done testing the dual wire gantry principle in real life with motors connected and run by RUMBA board.
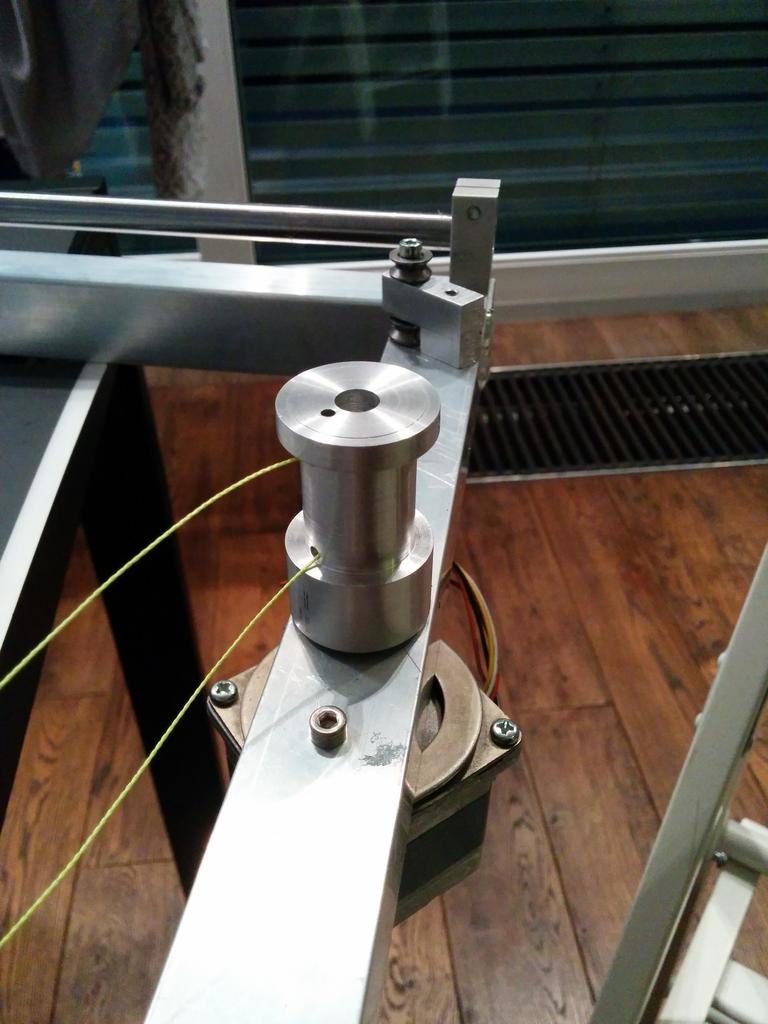
And the complete one axis with wiring done
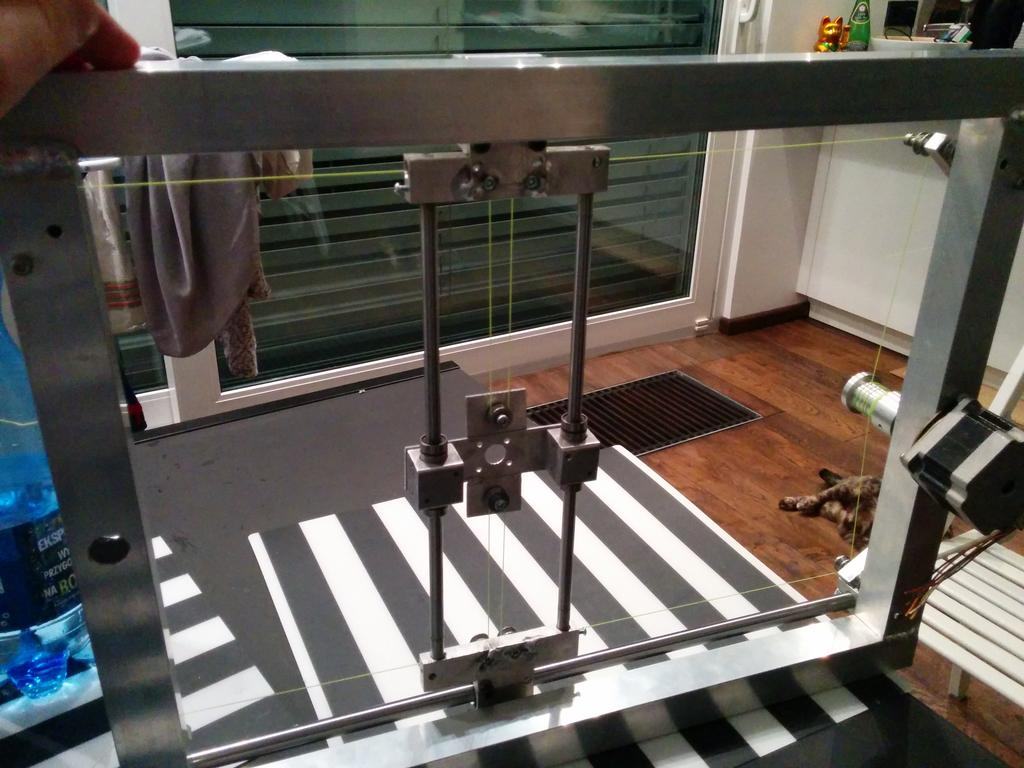
After successful first test I moved on to further assembly the printer
So after welding the lower part and adding whells with blockers I moved on to alining all the parts. As previously shown right angle to the rescue! :)
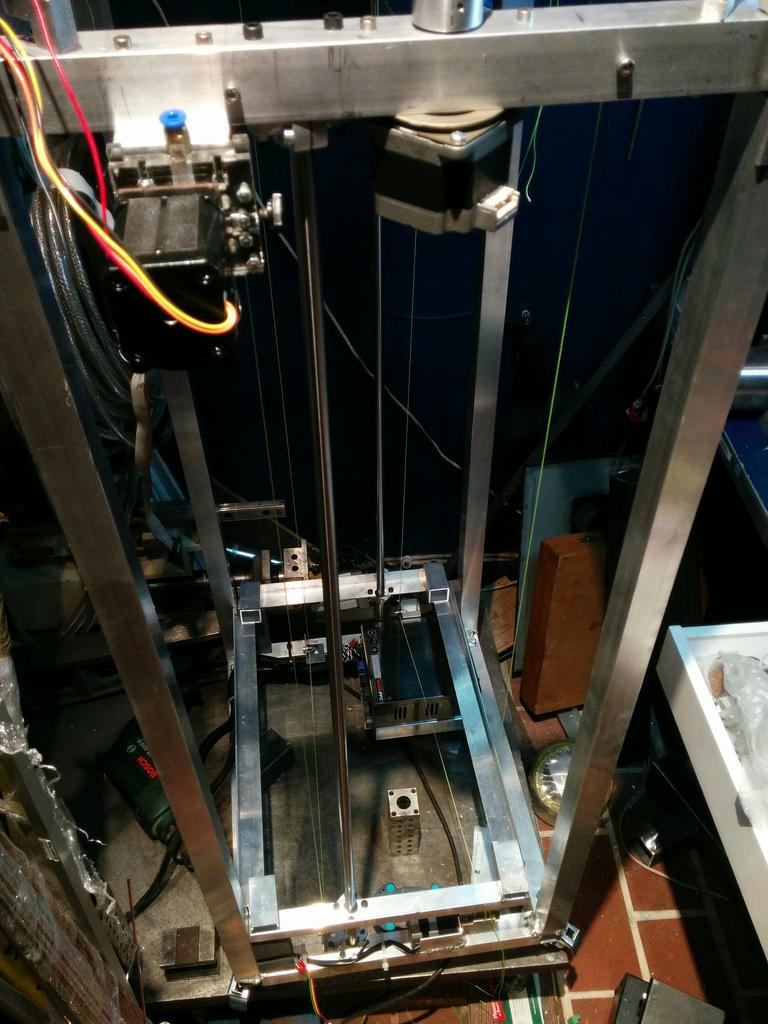
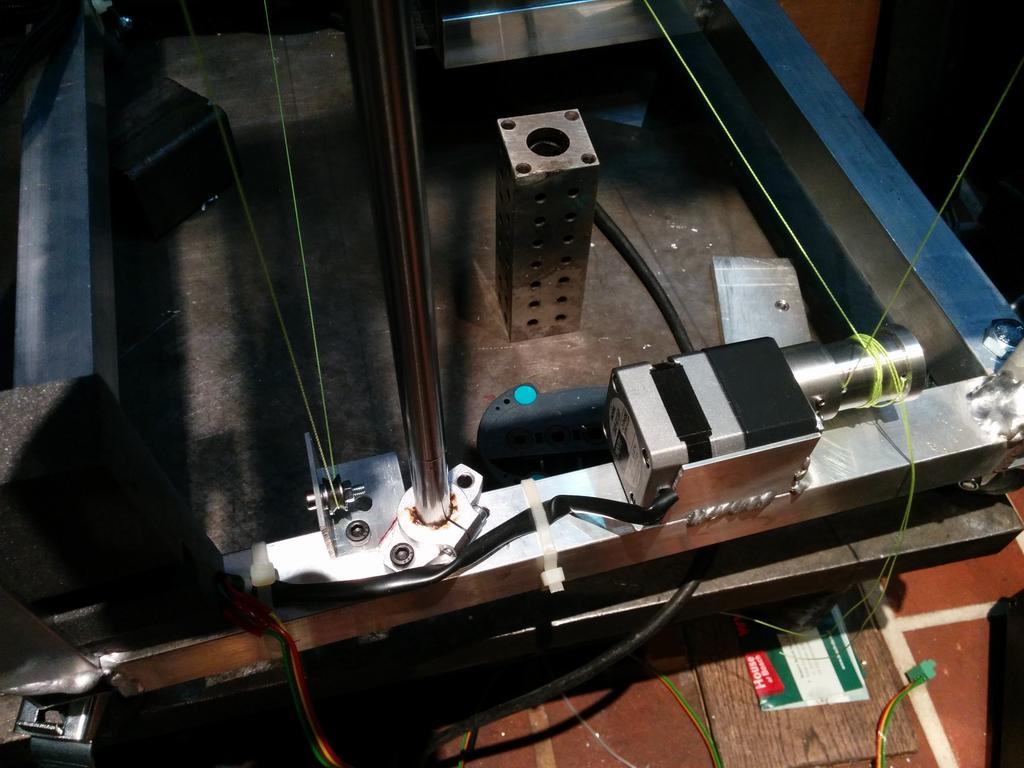
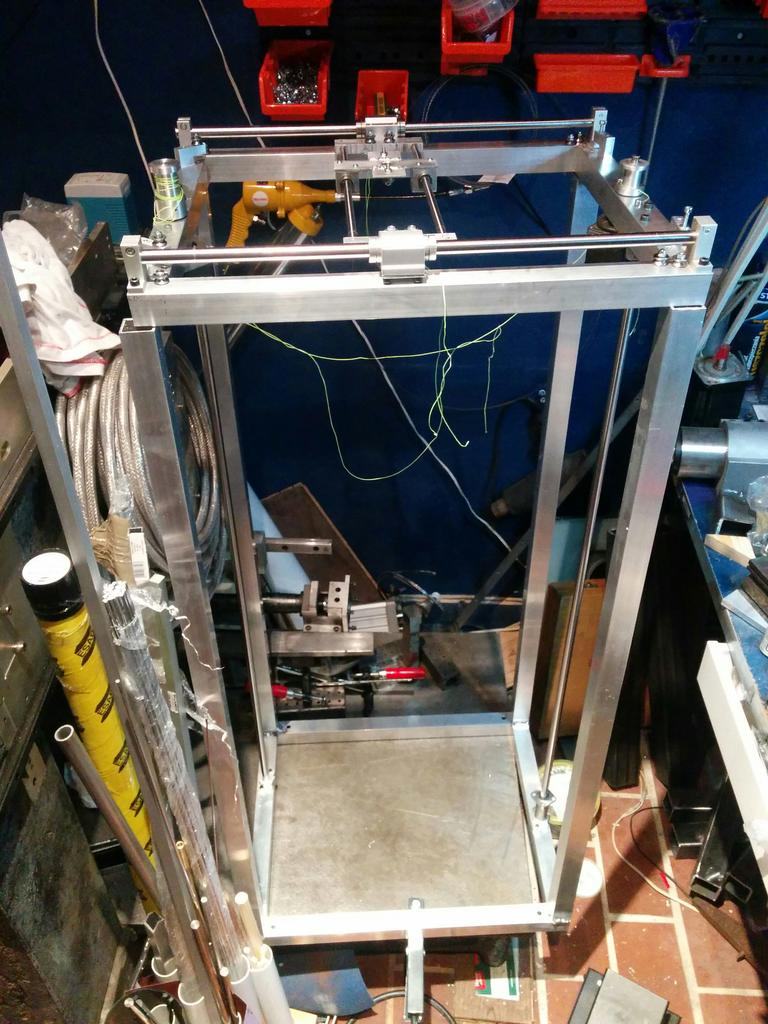
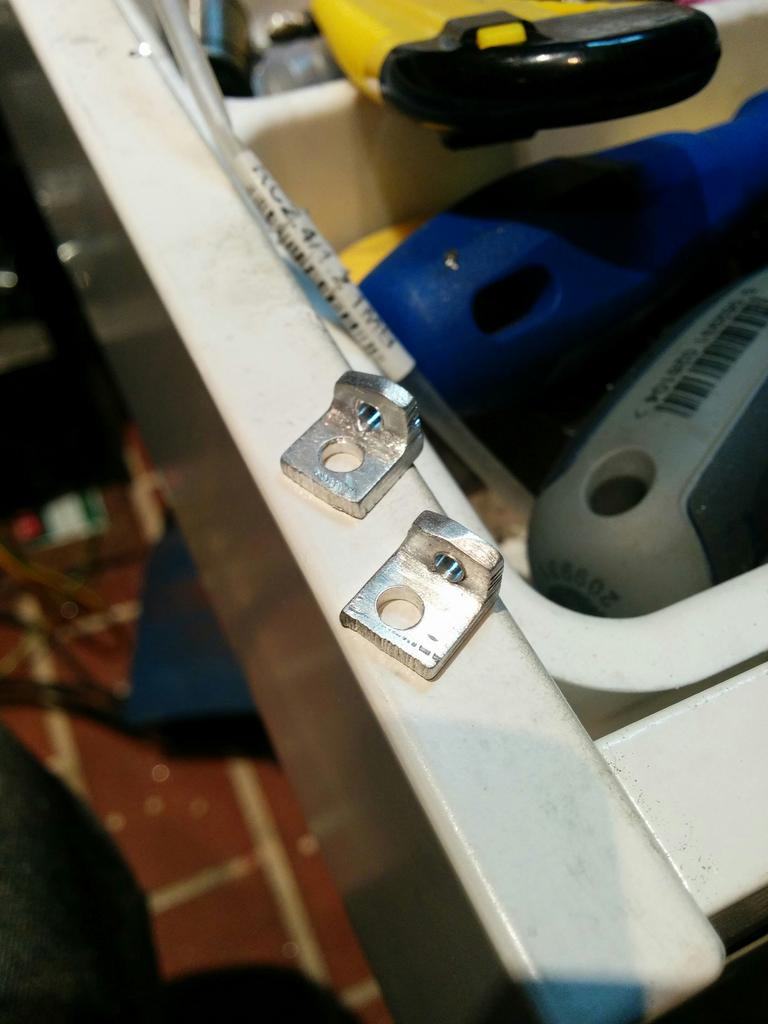
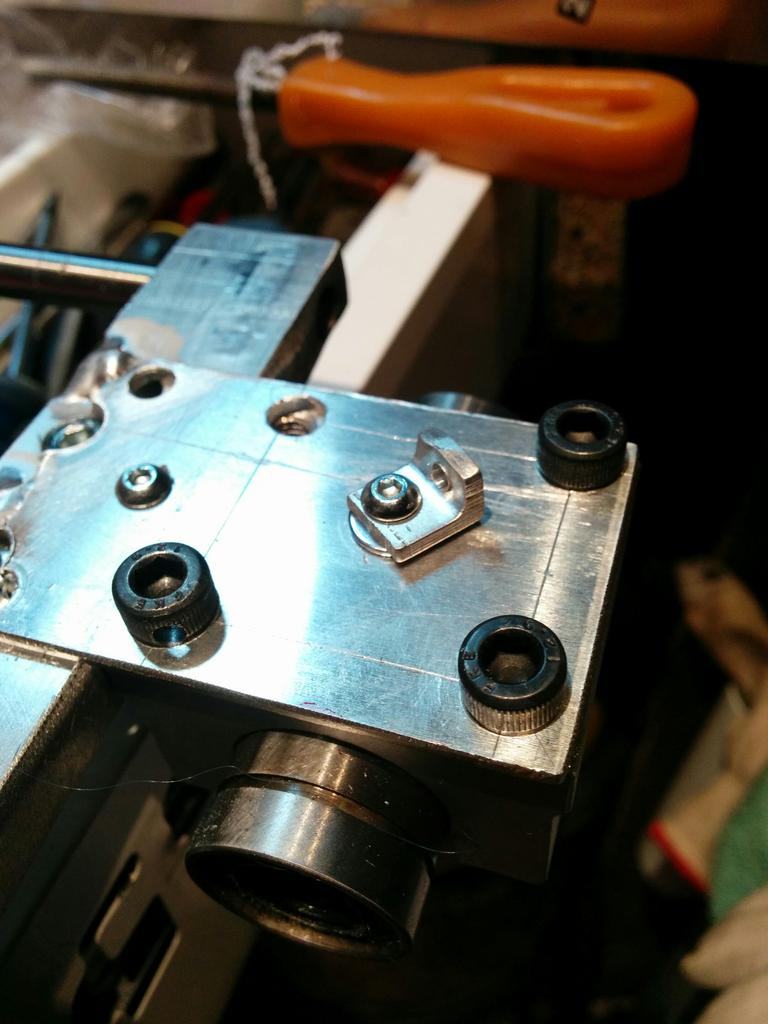
For tightening the X axis I have added small brackets that was rotated in place to make it tight.
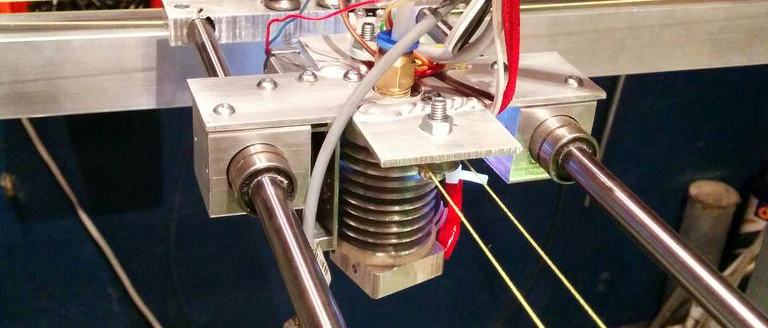
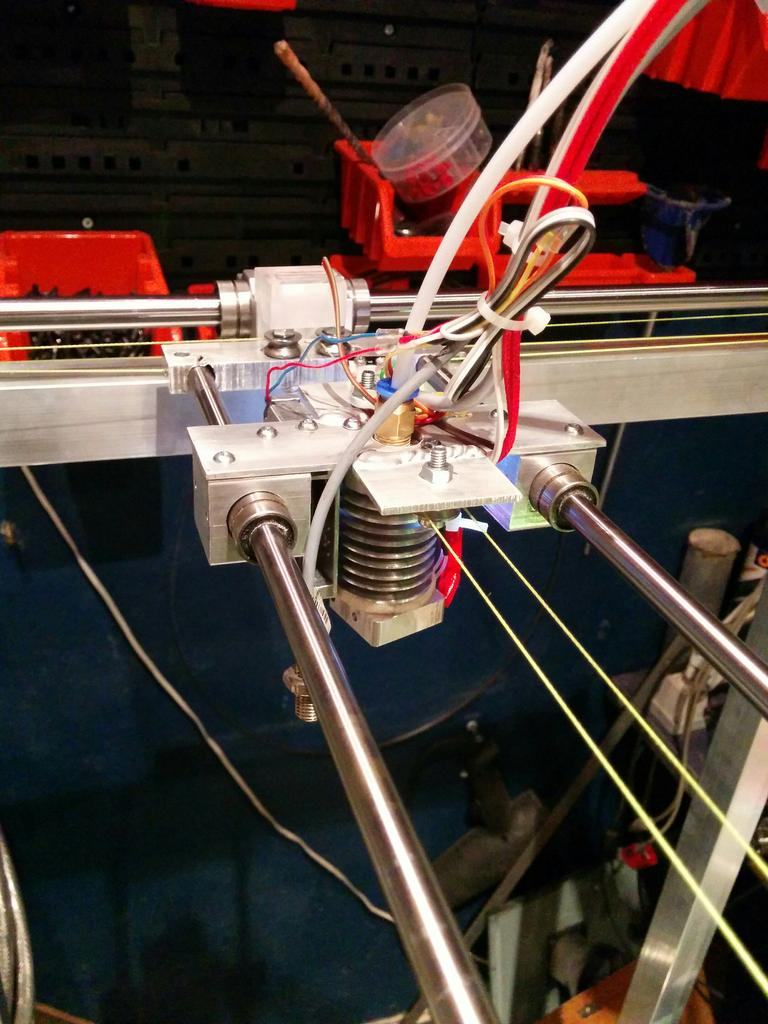
Extruder head mounted with needed fan, additional LED, bed leveling sensor and end switch.
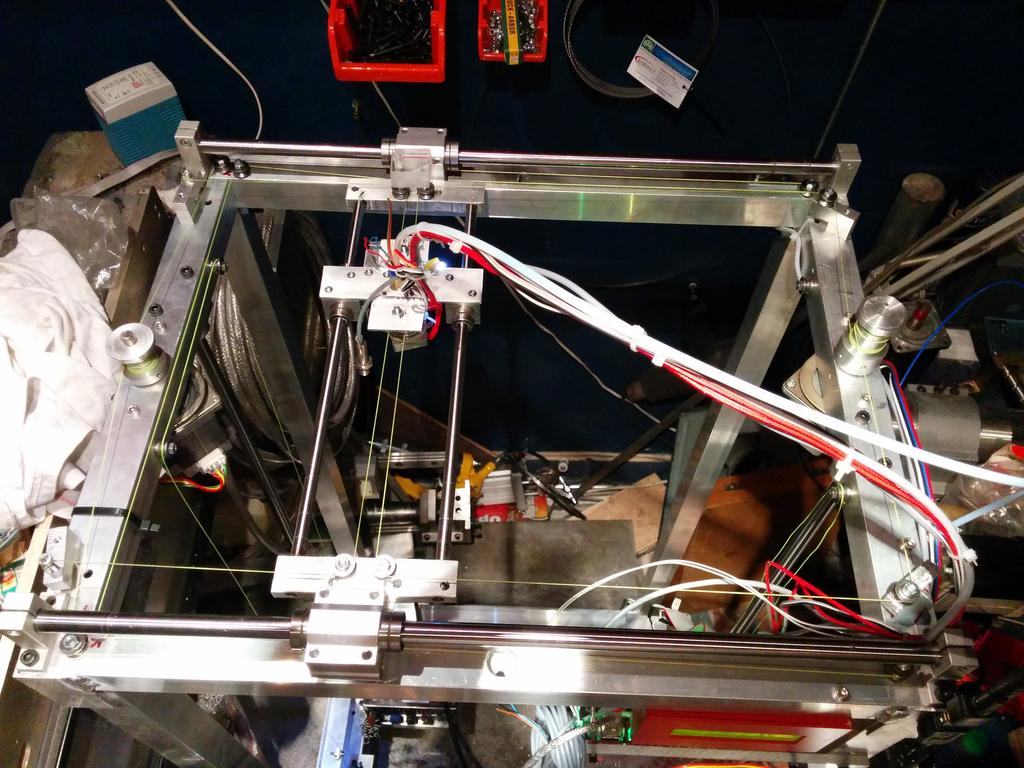
And this is how it looks for now - I will finish bed soon and first print are going to be exciting calibration issue :)
UPDATE
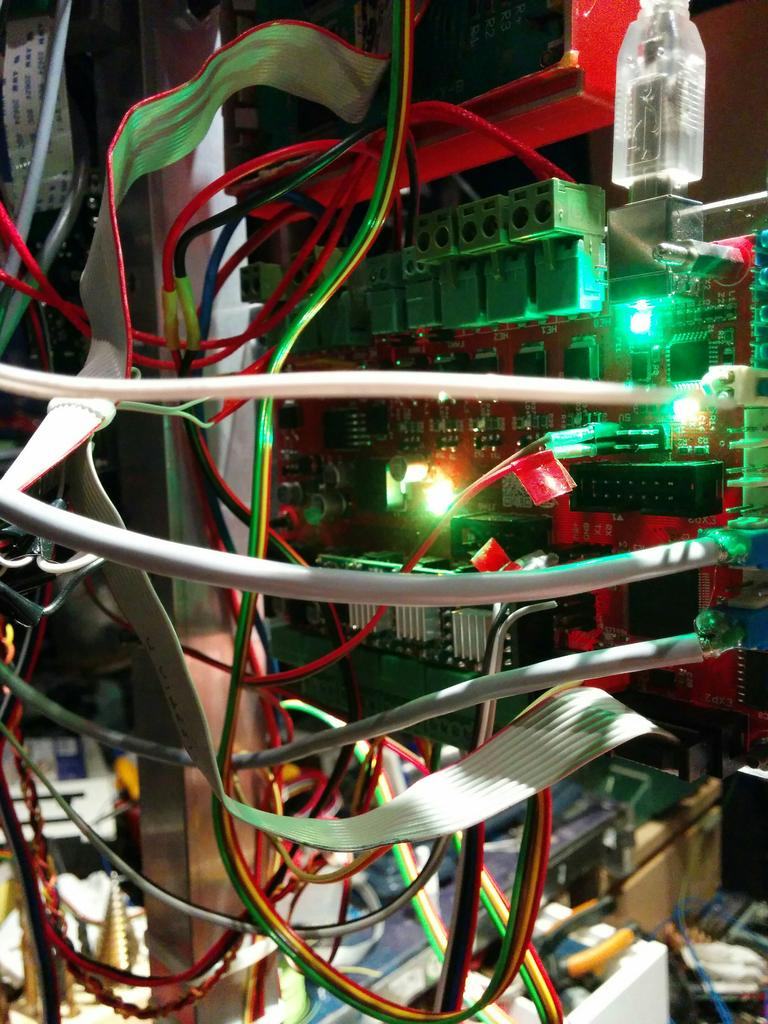
After several changes printer works - there is some play in X axis so I will be changing spectra line to GT2 belt. The same goes for Z axis. It is simply to long and to heavy for acurate positioning. This is my post on how the upgrade went and what was changed.
However the printer is working and I uesd it to make some enclosures for my raspberry pi with LCD computer
Contact me
Questions, ideas, or spotted a bug? Send me a note.